Home and desk

Measure your drawer and build the divider box

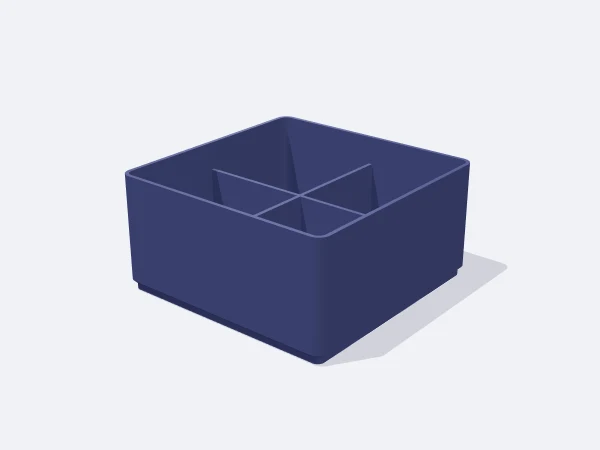
This tool generates a divider box at the outside dimensions you type in and exports it as an STL. Enter width, depth and height, pick the number of rows and columns, and the divider walls split the interior into equal cells while the model updates in your browser.

Off-the-shelf organisers come in fixed sizes that either do not fit the drawer or leave a gap at the edge. Because you enter the drawer's own internal size here, the box sits without slack, and the stacking step and press-on lid turn the same template into a cabinet storage box.

Free, no sign-up. Change the sizes in millimetres and download the STL.

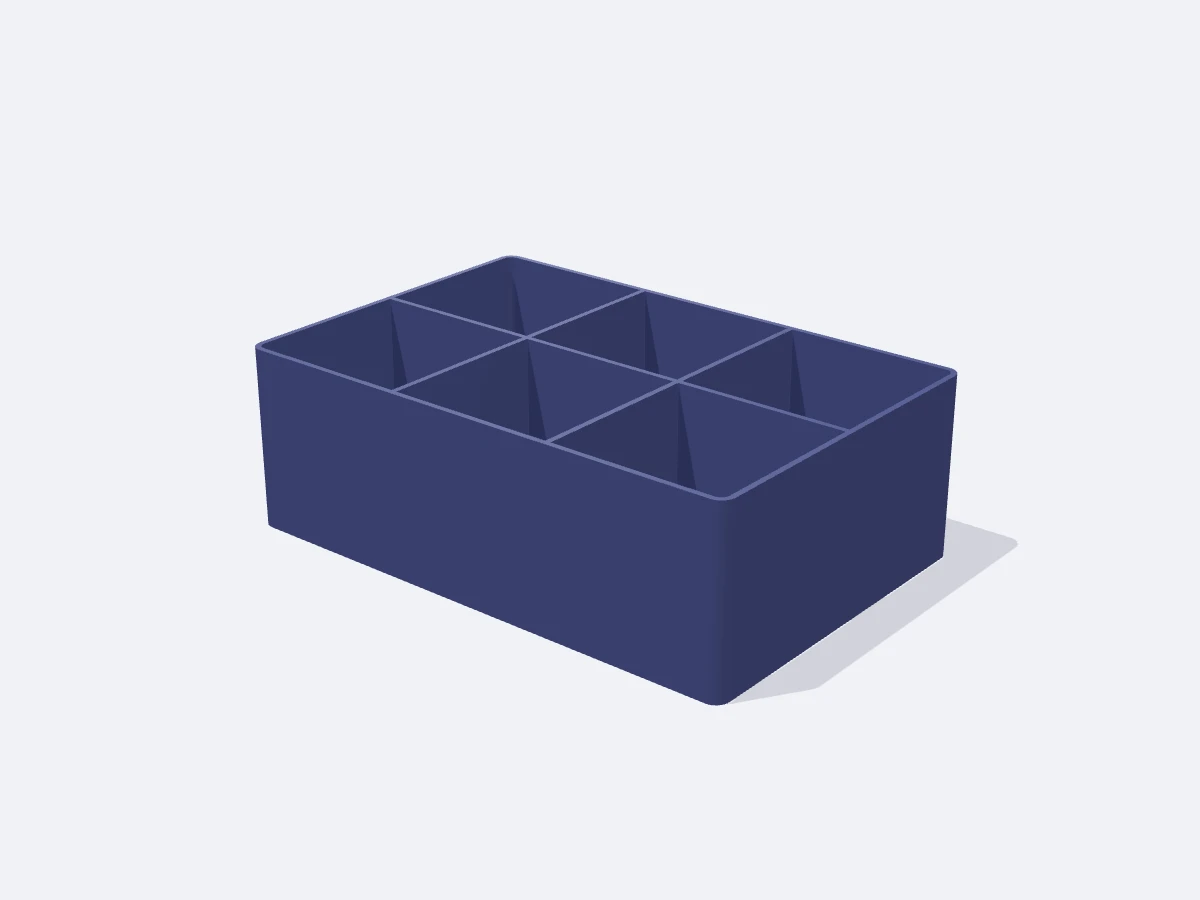
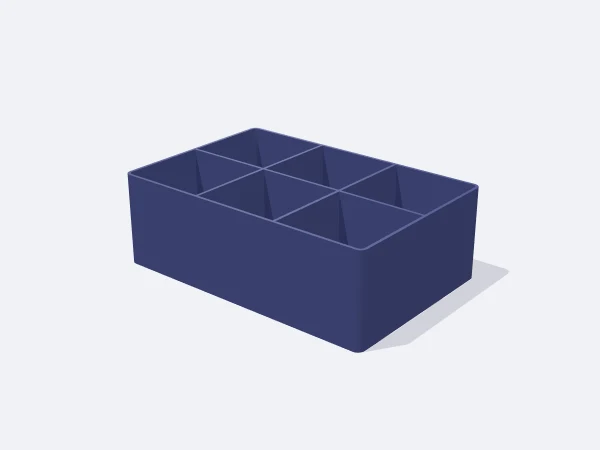
Rectangular box with thin divider walls forming two rows of three compartments

Ready-made variants

Each variant is the same template with different settings. Follow the link and the editor opens with those values.

Adjustable sizes

These values are edited in the editor's template panel. A number outside the range is clamped to the nearest limit automatically.

SizeRangeDefault
Dimensions
Outer width X30–400 mm150 mm
Outer depth Y30–400 mm100 mm
Height10–200 mm50 mm
Wall0.8–6 mm1.6 mm
Bottom0.8–10 mm1.6 mm
Corner radius0–30 mm4 mm
Dividers
Rows1–82
Columns1–83
Divider height (%)50–100100
Options
Finger scoopOn / OffOff
StackableOn / OffOff
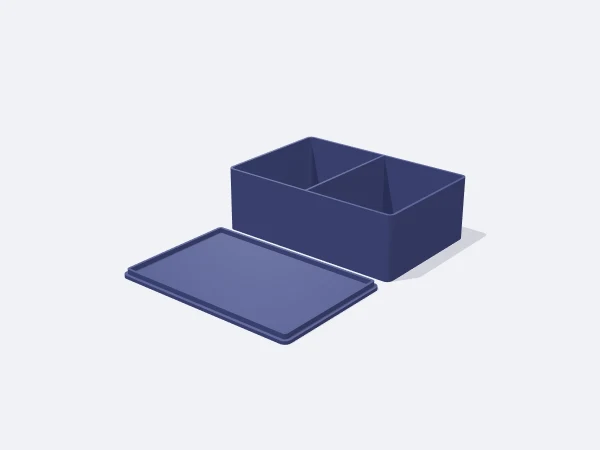
Add lidOn / OffOff

What it is used for

  • Cutlery and small utensil dividers in a kitchen drawer
  • Clips, pins and sticky notes in an office drawer
  • Screws, anchors and drill bits on a workbench
  • Jewellery, watches and glasses in a dresser drawer
  • Electronic components and resistor storage

Printing tips

Orientation
Print floor down with the opening up. With the lid option on, the lid is generated beside the box and arranged lip-up.
Layer height
Use 0.24 or 0.28 mm. The divider walls are all vertical, so a thick layer costs nothing visually and cuts the time noticeably.
Infill
10-15% infill with 2 perimeters is enough, since load spreads across the floor.
Supports
None needed. The stacking step has a 45° transition and the finger scoop is a concave ramp rising from the floor.
Material
PLA is fine; drawers are cool and out of the sun. Choose PETG for kitchen boxes that will go through a dishwasher, as PLA deforms in a hot wash.

Tips

  • Subtract 2-3 mm from the drawer's internal size so the box does not rub the wood going in.
  • Keep the wall at 1.6 mm: that is exactly four lines on a 0.4 mm nozzle and gives a clean side face.
  • Make the height 5 mm less than the drawer's internal height so nothing catches as it closes.

Cell count and finger scoops

Rows and columns go from 1 to 8 and divide the interior into equal cells. To work out the cell size, subtract the wall allowance from the internal width and divide by the column count: 150 mm wide with 3 columns gives cells of about 48 mm.

  • Cutlery: 1 row, 3-4 columns, 40-50 mm tall
  • Screws and anchors: 3-4 rows, 3-4 columns, scoops on
  • Jewellery: 2 rows, 2 columns, divider height 75%
Stacking step and lid

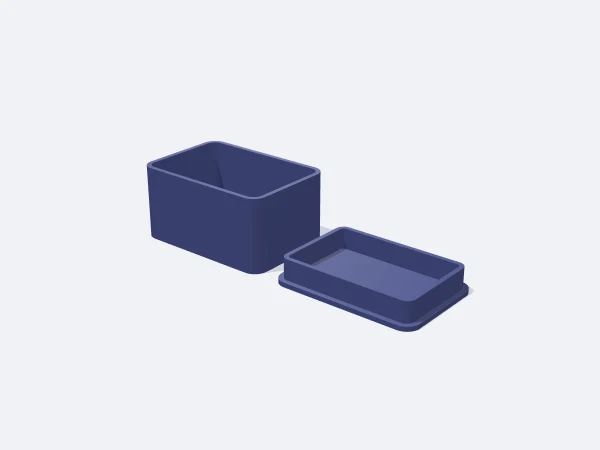
The stackable option adds a 45° step to the bottom edge so the box drops into the mouth of the box below with 0.3 mm clearance. Stacking two boxes is the easiest way to use the full height of a deep drawer.

  • Stacking and lid can be used together
  • The lid lip is 3 mm with 0.3 mm fit clearance
  • With stacking on, the interior narrows by the wall allowance
  • If the plate is too small, print box and lid as separate jobs

Frequently asked questions

How should I measure the drawer?

Measure the internal width, depth and height, then subtract 2-3 mm from width and depth and 5 mm from height. That allowance covers print tolerance and lets the box lift in and out easily.

The box is larger than my build plate. What now?

Filling a drawer with two or three smaller boxes is usually more practical than one large one. Side by side, they also let you change the cell layout per box.

How strong are the divider walls?

Divider walls are capped at 2 mm and merge into the outer wall as one piece. They will not flex in normal use unless you press on them; raise the outer wall to 2.4 mm if you want more.

Similar templates

Set the sizes to fit your part

Open the template in the editor, enter your values and download a print-ready STL. No account needed.

Open in editor