Home and desk

Hinge: comes off the bed working, thanks to built-in pins

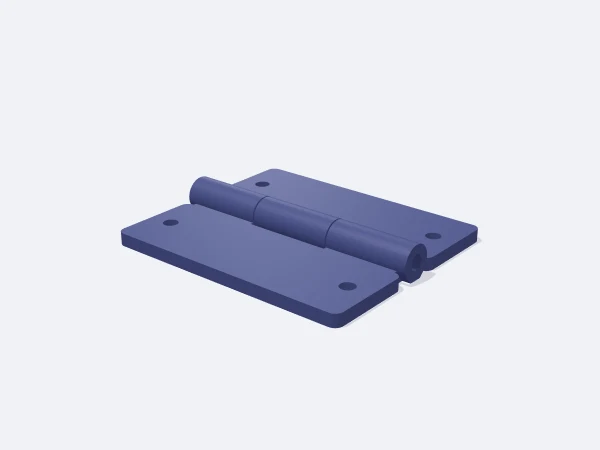
This page opens the DrawSTL hinge template: a classic knuckle hinge whose two leaves interlock at the knuckles, sized in millimetres and downloaded as a print-ready STL. With the built-in pin option the two leaves print as separate bodies in the same job and seat on each other through 45 degree cone pins, so there is nothing to assemble.

Choose the separate pin option and a hole runs the full length through the knuckles for a pin you fit yourself. The knuckle cross-section is a teardrop with a 45 degree chamfered base, so it meets the bed on a flat rather than a line.

Free, no sign-up. Change the sizes in millimetres and download the STL.

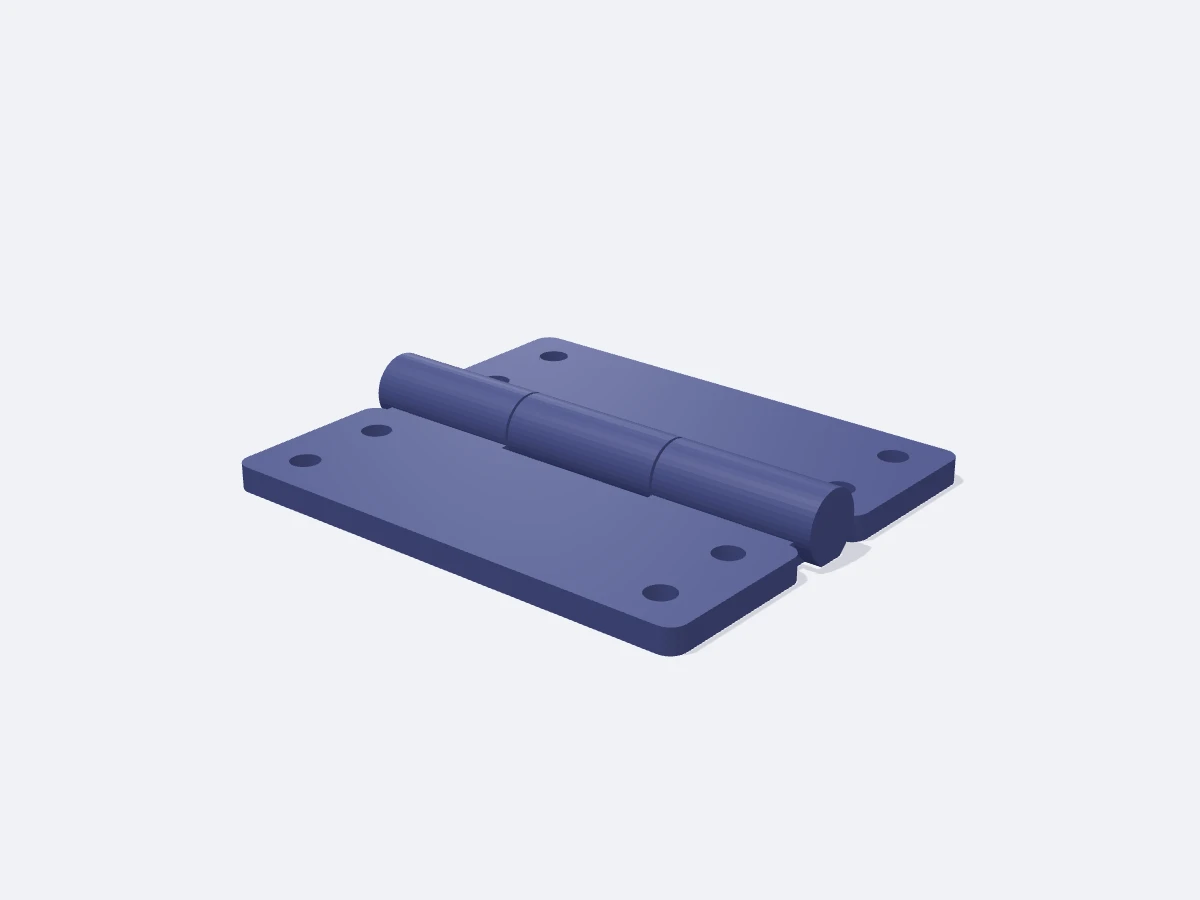
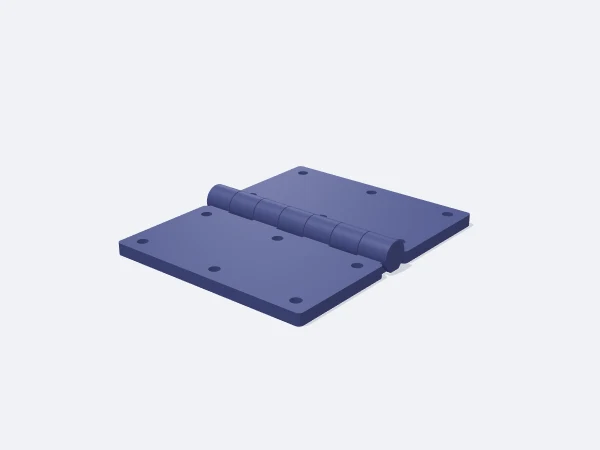
DrawSTL hinge template: two leaves lying open on the print bed with interlocking knuckles in the middle and screw holes in each leaf

Ready-made variants

Each variant is the same template with different settings. Follow the link and the editor opens with those values.

Adjustable sizes

These values are edited in the editor's template panel. A number outside the range is clamped to the nearest limit automatically.

SizeRangeDefault
Shape
PinBuilt-in (print in place), Separate pinBuilt-in (print in place)
Dimensions
Length20–200 mm60 mm
Leaf width8–80 mm26 mm
Leaf thickness1.5–12 mm3 mm
Knuckles
Knuckles3–113
Knuckle diameter4–30 mm8 mm
Pin diameter1–12 mm3.5 mm
Pin clearance0.1–1 mm0.35 mm
Knuckle gap0.1–1.2 mm0.35 mm
Mounting
Holes per column0–62
Hole columns1–22
Screw hole Ø0–10 mm3.5 mm

What it is used for

  • Hinges for printed boxes, crates and lids
  • Electronics enclosures, battery doors and service hatches
  • Model, toy and puppet joints
  • Small cabinet doors, panels and frames
  • Folding stands, holders and side tables

Printing tips

Orientation
The hinge is built open, with both leaves flat on the bed. Do not rotate it: standing the knuckle axis up breaks the print-in-place behaviour.
Layer height
0.16 mm. Stay at or below 0.2 mm, since the clearance between moving parts has to stay accurate.
Infill
40-60%. With leaves 3 mm thick or less, raise the wall count to 3, as walls matter more than infill here.
Supports
None. Built-in pins are 45 degree cones, and with a separate pin the hole prints horizontally over a short bridge.
Material
PETG is the best all-round pick for a part that flexes and wears repeatedly. PLA holds sharper detail but cracks at the knuckle root; use ASA outdoors.

Tips

  • Do not drop the clearance between moving parts below 0.3 mm, or a print-in-place hinge fuses and will not turn.
  • Work the hinge open slowly and progressively the first time, which breaks any light fusing.
  • For a separate pin on small hinges, 1.75 mm filament works well; set the pin diameter to 1.9 mm.

How a print-in-place hinge works

With the built-in pin option, the two leaves print as separate bodies that never touch. The 45 degree cone pins on the sides of each knuckle sit in the matching cone seats of the opposite knuckle, with clearance everywhere between. As long as that clearance stops material fusing, the hinge comes off the bed already working.

Two values decide whether it is safe: the gap between knuckles and the pin clearance. The template computes the real diagonal clearance from both, and when the result falls below 0.3 mm a warning appears in the panel and the gap needs raising.

  • 0.3-0.4 mm clearance: safe print in place, slightly stiff action
  • 0.5-0.6 mm clearance: free action with a little play
  • 0.35 mm pin clearance: the default, correct on most printers
  • Below 0.3 mm: high risk of the parts fusing together
Built-in pin or separate pin

The built-in pin is the fastest route: the hinge is ready when the print finishes. The trade-off is that pin diameter is limited by knuckle diameter and the pivot runs on plastic, so cone pins wear on hinges that move often.

With a separate pin, one hole runs through all the knuckles, and a metal pin moves the wear off the plastic for a longer-lived hinge. The hole prints horizontally over a short bridge; keeping it 0.3 mm over the pin makes fitting easier.

Frequently asked questions

Does the hinge really come off the bed working?

With the built-in pin option, yes. The leaves print as separate bodies joined by cone pins, and at 0.3 mm clearance or more it moves straight off the bed.

The parts fused together, what now?

Work it slowly and progressively first, which separates light fusing. If it still binds, raise the knuckle gap by 0.1 mm and reprint.

What can I use as a separate pin?

A piece of filament, a nail, a screw shank or a stainless rod. On small hinges 1.75 mm filament is practical; set the pin diameter 0.3 mm over it.

Why did my knuckle count go down?

Each knuckle has to stay at least 2 mm long. If the length you set cannot fit that many, the count is reduced and the panel reports the value used.

Why is the leaf wider than I asked for?

The leaf cannot be narrower than the area the rotating knuckle sweeps. When your value is too small, it is raised to the smallest workable size.

Similar templates

Set the sizes to fit your part

Open the template in the editor, enter your values and download a print-ready STL. No account needed.

Open in editor