Home and desk

Generate a cable clip for your cable diameter

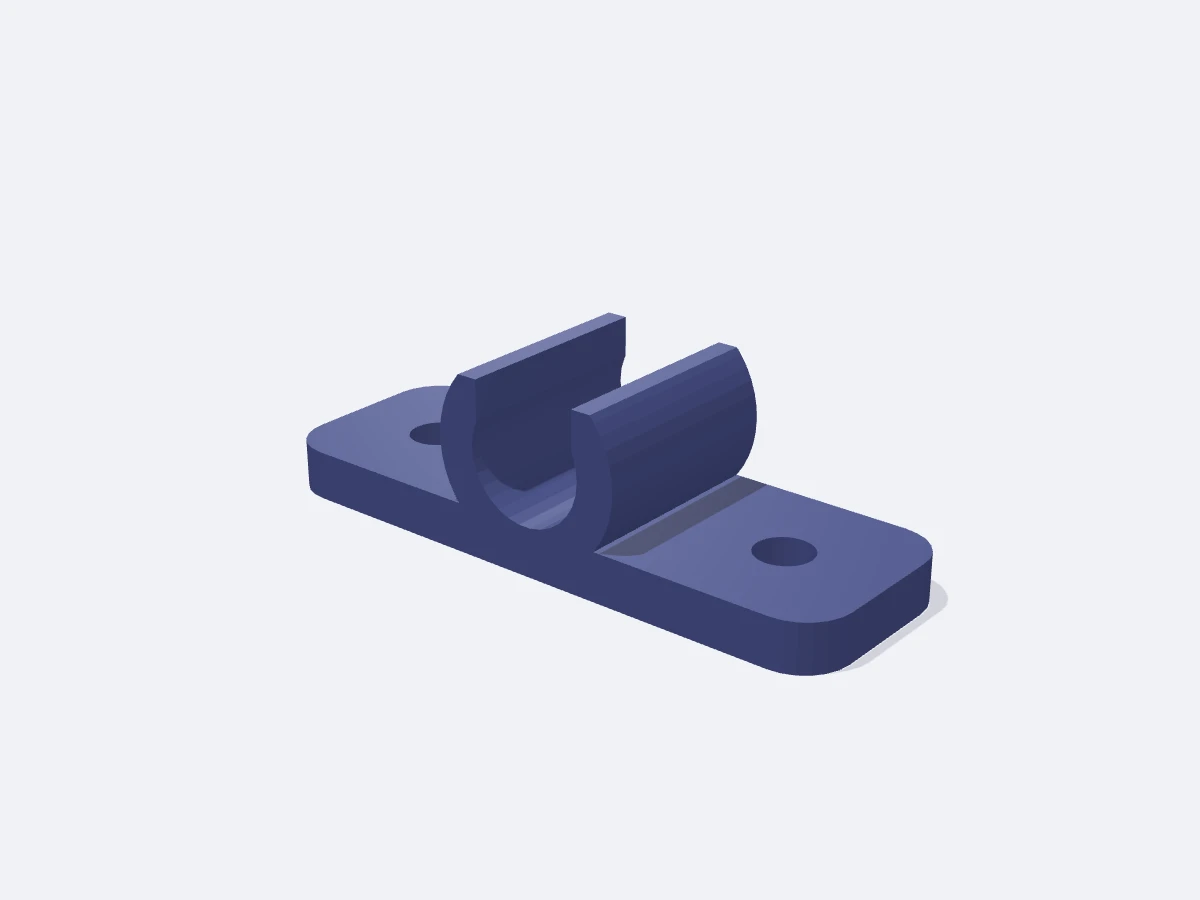
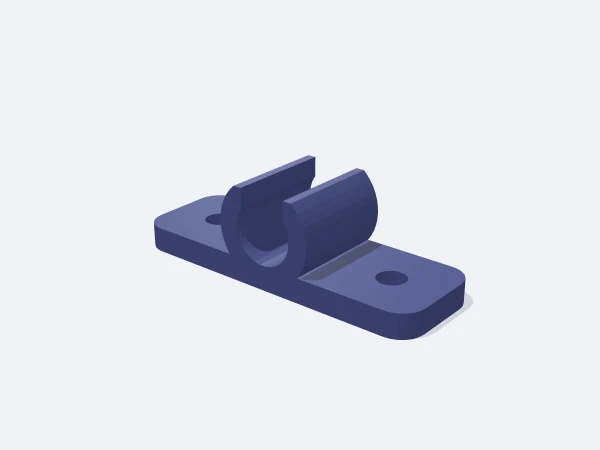
This tool builds a C-shaped clip sized around your cable and exports it as an STL. Enter the cable diameter, mouth opening and clip width in millimetres; the two-tab base comes ready to screw or tape down, and the model is computed in your browser.

The clip is open at the top: you press the cable in through the mouth, and once it is inside the mouth holds it. The mouth is always generated narrower than the cable, because an opening as wide as the cable lets it fall straight back out. The panel reports the limit it applied.

Free, no sign-up. Change the sizes in millimetres and download the STL.

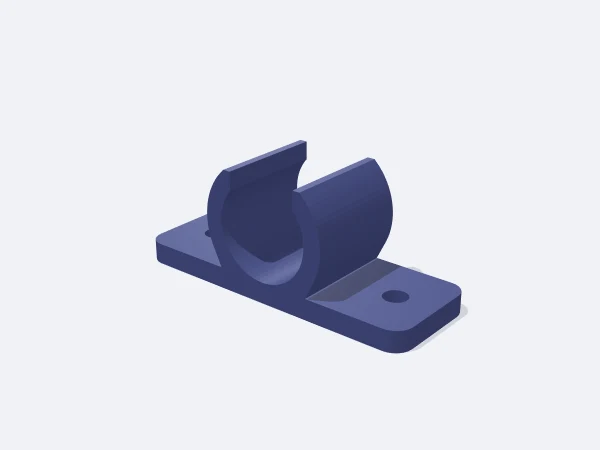
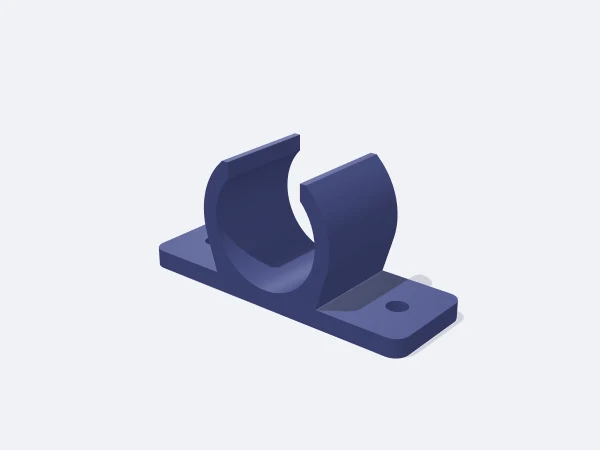
Open-top C-shaped cable clip on a base with two screw tabs

Ready-made variants

Each variant is the same template with different settings. Follow the link and the editor opens with those values.

Adjustable sizes

These values are edited in the editor's template panel. A number outside the range is clamped to the nearest limit automatically.

SizeRangeDefault
Dimensions
Cable diameter2–40 mm7.5 mm
Mouth width1–24 mm19 mm
Wall thickness1.2–6 mm2.4 mm
Clip width4–40 mm13 mm
Mounting
Base thickness1.5–8 mm3 mm
Tab length6–30 mm13 mm
Screw hole0–8 mm3.5 mm

What it is used for

  • Routing cables under a desk or along a skirting board
  • Cable management behind a TV unit or computer desk
  • Securing bowden tubes and wiring on a 3D printer
  • Holding wiring looms in a car or campervan
  • Hangers for irrigation hose and small-bore pipe

Printing tips

Orientation
Print base down with the clip loop facing up. The top of the loop is a 45° teardrop, so no support is needed no matter how wide the mouth gets.
Layer height
0.2 mm. The clip works as a small spring, and thicker layers reduce how far it flexes.
Infill
100% infill with 3 perimeters. The part is tiny so infill costs almost nothing, and a solid section gives the clip its spring back.
Supports
None needed.
Material
PETG first: it flexes and returns instead of snapping like PLA. Choose TPU if it will stay permanently stretched, but TPU crushes as a screw tightens. A PLA clip usually cracks at the mouth on the second or third insertion.

Tips

  • Set the mouth to 60-75% of the cable diameter: the cable presses in but will not fall out.
  • Do not drop wall thickness below 2.4 mm; thinner walls flex but stay permanently open.
  • Enter 0 for the hole diameter to print it solid and fix it with tape instead.

Choosing the mouth opening

The mouth is the gap at the top, and on its own it decides whether the clip works. A mouth wider than the cable holds nothing; a mouth that is far too narrow permanently splays the lips as you force the cable in. In practice around two thirds of the cable diameter works best.

  • 4 mm cable: 2.5-3 mm mouth
  • 7.5 mm cable: 5-6 mm mouth
  • 16 mm cable: 10-12 mm mouth
  • Keep the mouth near the upper limit if you insert and remove often
Screws or tape

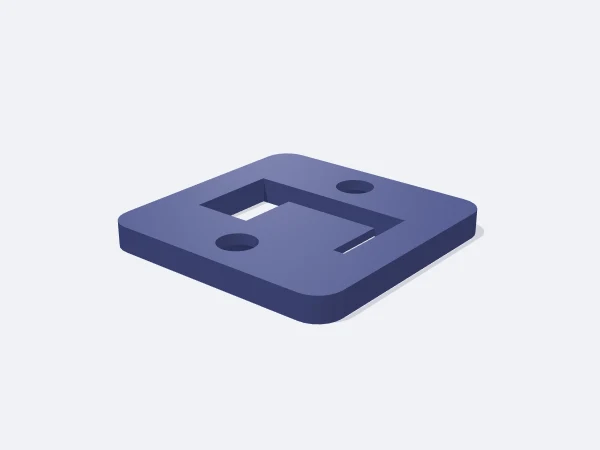
The base has two tabs, each with a screw hole. A 3 mm wood screw holds well in timber and MDF, and a self-tapping screw works on metal profile. Entering 0 for the hole diameter removes the holes completely.

  • Timber and MDF: 3-3.5 mm hole, wood screw
  • Metal profile: 3.5-4 mm hole, self-tapping screw
  • Glass and tile: hole 0, double-sided foam tape
  • For tape, push the tab length above 16 mm

Frequently asked questions

Will the clip pinch or damage the cable?

The loop bore is sized from the cable diameter, so the cable sits loose inside rather than clamped. The only pressure is while it passes the mouth, and that is brief enough not to mark the jacket.

How many should I print?

One clip every 20-30 cm keeps a run tidy under a desk. Laying out a batch in one job is the practical approach, since each clip takes only 5-10 minutes.

Is TPU a good idea?

Yes if you want a very flexible clip, but TPU squashes as a screw tightens and the base bulges. If you choose TPU, use tape instead of screws.

Similar templates

Set the sizes to fit your part

Open the template in the editor, enter your values and download a print-ready STL. No account needed.

Open in editor