Home and desk

Generate a cable tie mount at your own size

This tool builds the screw-on or adhesive base a cable tie passes through, sized by you and exported as an STL. Enter the base width and depth plus the slot width and length in millimetres, and the model is computed in your browser ready to download.

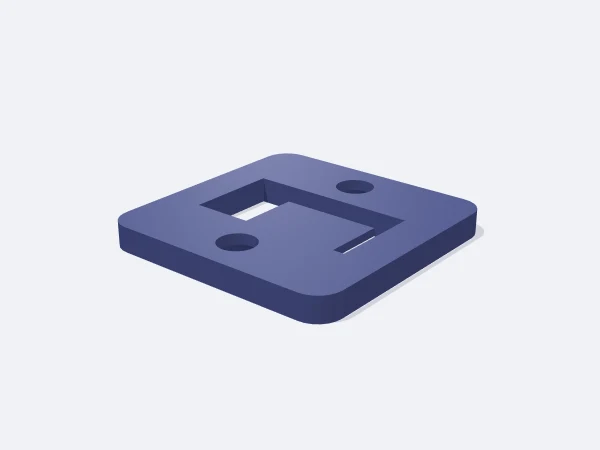
The tie drops through two slots, runs along a channel on the rear face and closes its loop around the bundle, so the base hides the tie completely instead of leaving a tail exposed. Shop-bought mounts come with one slot size; here you enter the slot width for your own ties so nothing sits loose.

Free, no sign-up. Change the sizes in millimetres and download the STL.

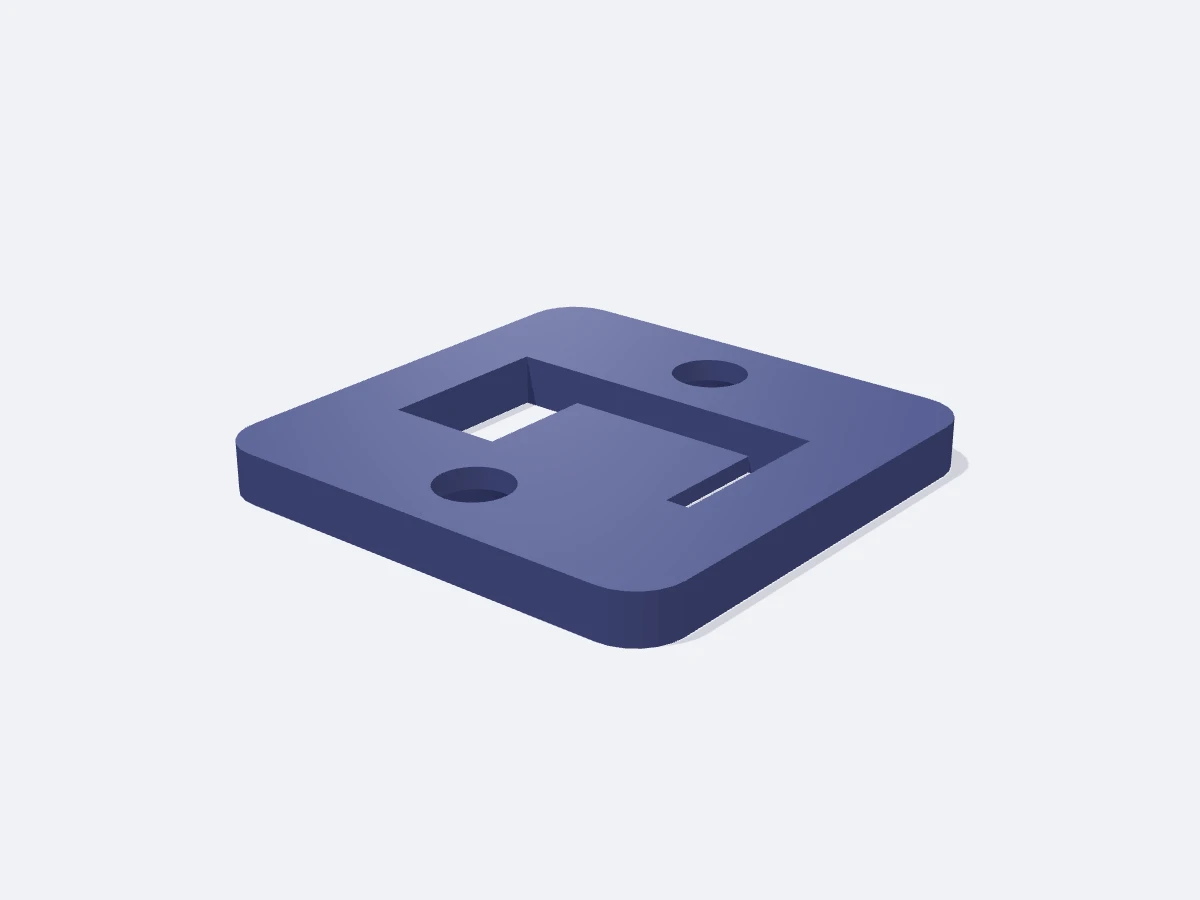
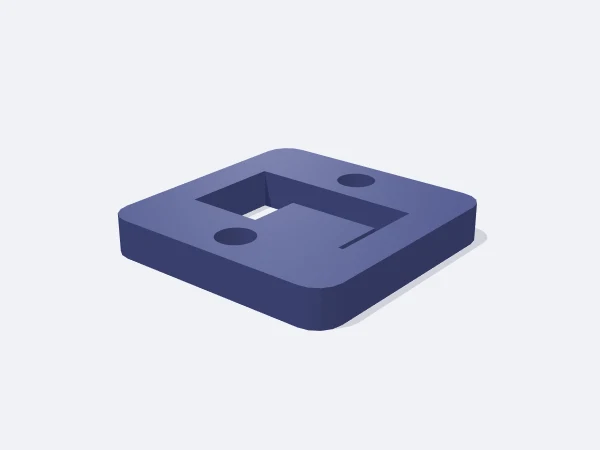
Square cable tie base with two rectangular slots and two screw holes

Ready-made variants

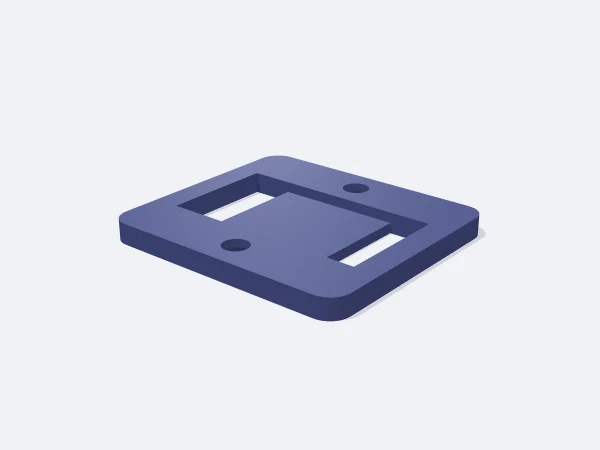
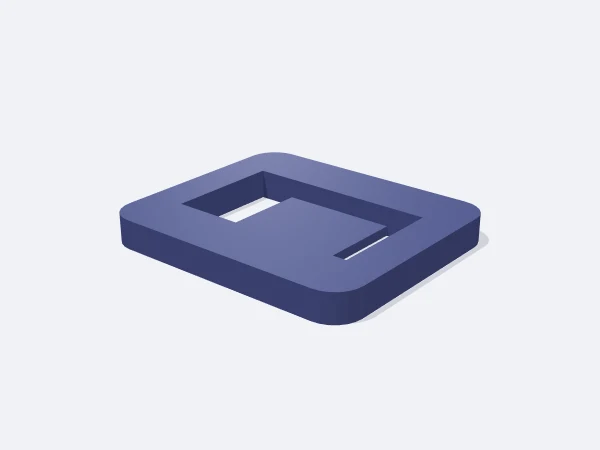
Each variant is the same template with different settings. Follow the link and the editor opens with those values.

Adjustable sizes

These values are edited in the editor's template panel. A number outside the range is clamped to the nearest limit automatically.

SizeRangeDefault
Dimensions
Width12–70 mm30 mm
Depth10–70 mm30 mm
Thickness1.5–10 mm3 mm
Corner radius0–20 mm3 mm
Shape
Slot width1.5–12 mm4 mm
Slot length4–50 mm11 mm
Slot spacing3–40 mm12.5 mm
Mounting
Screw hole0–8 mm4.5 mm

What it is used for

  • Anchoring cable bundles along a wall or under a desk
  • Routing wiring inside a distribution or control box
  • Fixing wiring looms in a car or campervan
  • Attaching cables and bowden tubes to a 3D printer frame
  • Securing irrigation hose and drip line

Printing tips

Orientation
Print with the channelled rear face up, which removes any need for support. Flip it over on assembly so that face sits against the wall; the screw holes are teardrop shaped for this orientation.
Layer height
0.2 mm. Crisp slot edges matter for getting the tie through easily.
Infill
100% infill with 3 perimeters. The base is a small plate, so infill barely affects the time and clearly raises strength.
Supports
None needed. With the channel on top, every surface prints flat or vertical.
Material
PETG is recommended: tightening a tie loads the slot edges, and PETG handles that better than PLA. Use ASA in an engine bay or in direct sun; PLA is fine indoors for light duty.

Tips

  • Make the slot 0.4-0.6 mm thicker than the tie so it feeds without forcing.
  • Keep the slot 1 mm longer than the tie width so the tie cannot twist in it.

Sizing the slots for your ties

Cable ties are specified by width and thickness. Common small ties are about 2.5 mm wide and 1 mm thick; mid-size ties run 4-5 mm wide and 1.2 mm thick; heavy-duty ties are 7-9 mm wide and 1.5-2 mm thick. Slot width corresponds to tie thickness, and slot length to tie width.

  • Small tie (2.5 by 1 mm): slots 2 by 5 mm
  • Mid tie (4.8 by 1.2 mm): slots 3-4 by 11 mm
  • Heavy tie (9 by 2 mm): slots 6-8 by 20-22 mm
Screw fixing versus adhesive

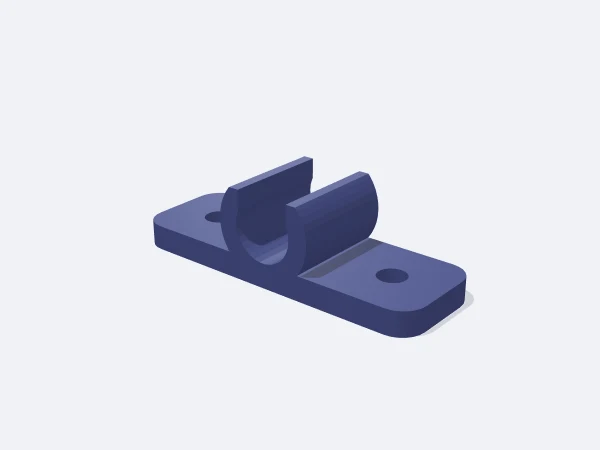
Hole diameter is free from 0 to 8 mm. Entering 0 cuts no holes at all and leaves a flat plate, which is the best version for double-sided tape. The holes sit either side of the rear channel, and the panel warns you when there is no room left for them.

  • Screwed: 3.5-4.5 mm holes, base depth above 28 mm
  • Taped: hole 0, base area above 25 by 25 mm
  • Metal surfaces: self-tapping screw, 4 mm hole

Frequently asked questions

Does the tie really pass under the base?

Yes. It drops through the two slots on the top face, runs along the channel on the rear face and comes back up to close the loop. That is why the base needs at least 1.8 mm thickness; a thinner plate has no room for the channel.

How much load will the mount hold?

What carries the load is the screw and the tie, not the plate itself. A 3 mm PETG base handles far more than the weight of a normal cable bundle.

Can I use it without screws?

Yes, set the hole diameter to 0 and fix it with double-sided foam tape. A larger base area improves grip noticeably, and the surface must be clean and grease free.

Similar templates

Set the sizes to fit your part

Open the template in the editor, enter your values and download a print-ready STL. No account needed.

Open in editor