Home and desk

Design a sponge holder or drip tray that drains into the sink

This tool generates a self-draining holder for a kitchen sponge or a drip tray with a grid for glasses and bottles, and exports it as STL. You enter width, depth, height, wall thickness and drain slope in millimetres and degrees, then pick the pattern and spout width.

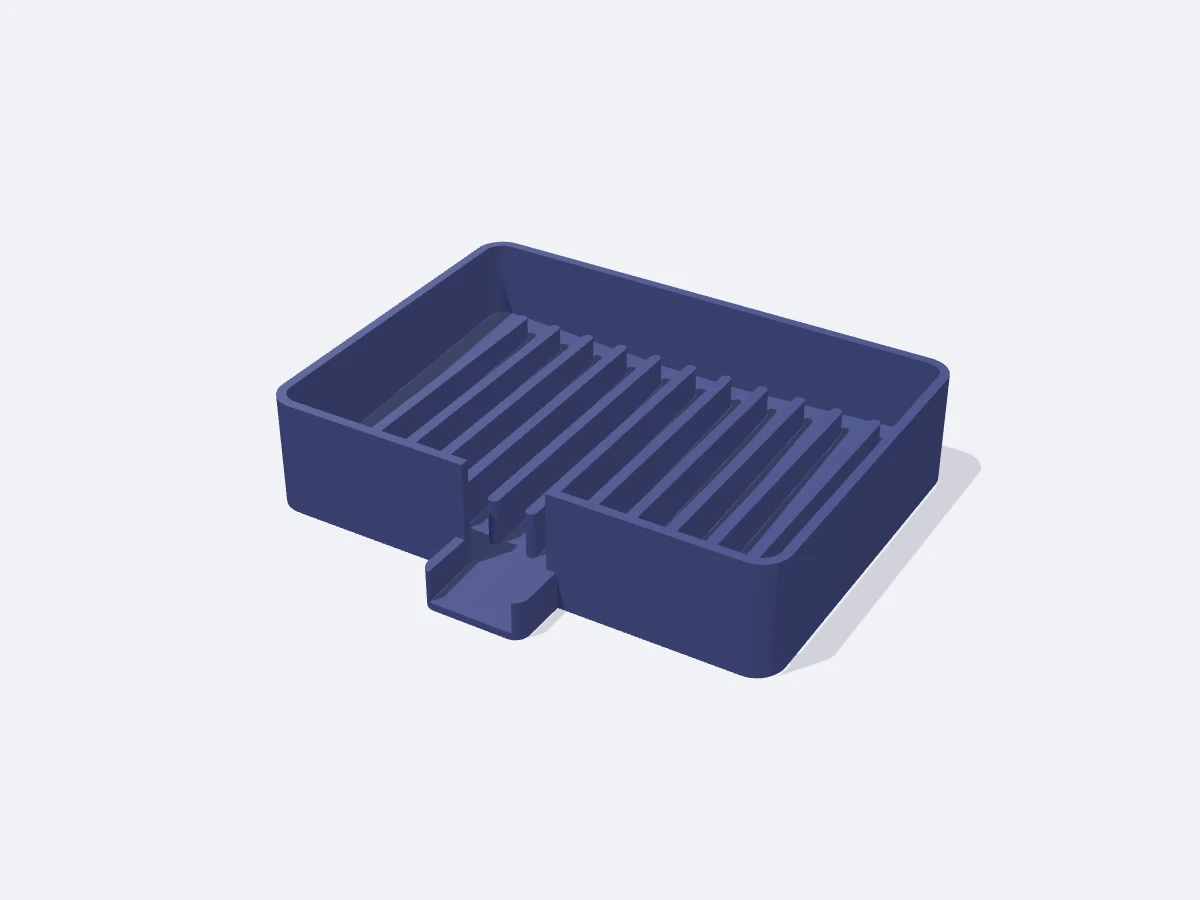
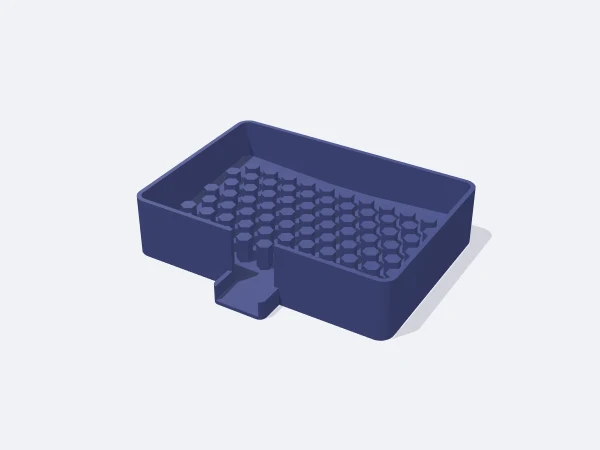
In the sponge holder the floor slopes both forward and towards the middle, so the lowest point is the tip of the front centre spout. The sponge sits on flat topped ribs or studs above the floor, water runs forward along the channels underneath and drips out of the spout into the sink. No pocket is left where water can stand.

Free, no sign-up. Change the sizes in millimetres and download the STL.

Sponge holder with a ribbed bed and a front drain spout

Ready-made variants

Each variant is the same template with different settings. Follow the link and the editor opens with those values.

Adjustable sizes

These values are edited in the editor's template panel. A number outside the range is clamped to the nearest limit automatically.

SizeRangeDefault
Shape
TypeSponge holder (with spout), Drip tray (grid + reservoir)Sponge holder (with spout)
Dimensions
Width60–250 mm110 mm
Depth50–200 mm80 mm
Height12–60 mm25 mm
Wall thickness1.2–4 mm2 mm
Drain slope0–5 °3 °
Pattern
Bed pattern *Ribs, Hex studs, Square studsRibs
Rib / stud width *1.6–10 mm2.4 mm
Water channel gap *2–12 mm6 mm
Rib height *2–10 mm4 mm
Grid pattern *Honeycomb, Square, SlotsHoneycomb
Opening *3–15 mm8 mm
Web *1.2–5 mm2 mm
Drainage
Spout width *10–40 mm18 mm
Board fit
Grid thickness *2.4–6 mm3.2 mm
Grid clearance *0.2–1 mm0.4 mm

Sizes marked with a star appear in the panel only when the related shape, style or option is active.

What it is used for

  • Keeping the dish sponge dry at the sink edge
  • Draining washed glasses and bottles on a grid
  • A soap or brush tray on the bathroom counter
  • A drip tray under a coffee machine or water dispenser

Printing tips

Orientation
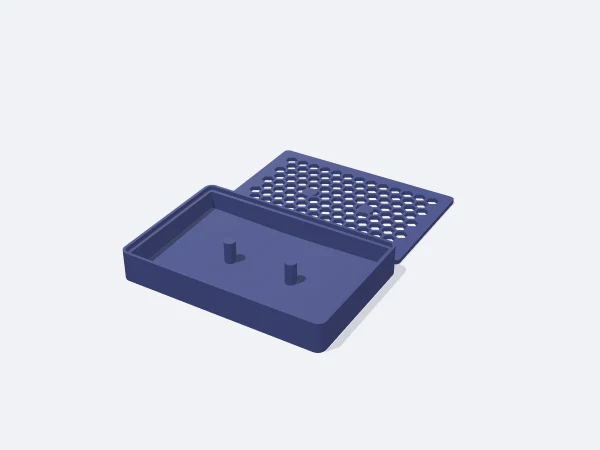
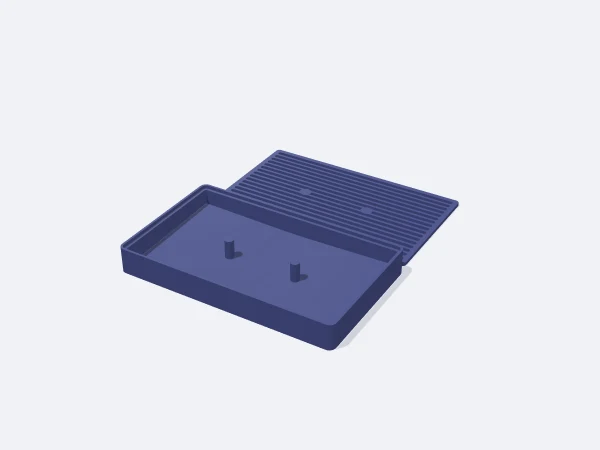
The sponge holder prints base down in one piece. The drip tray prints as two parts side by side; the grid rests on a 2.5 mm ledge inside the reservoir, flush with the rim.
Layer height
0.2 mm layers. The sloped floor leaves layer steps on top; 0.12 mm layers give smoother flow.
Infill
20% infill and 3 walls. Use at least 4 top layers so it stays watertight.
Supports
Not needed. The spout sits on the bed, ribs and posts rise from the floor.
Material
PETG or ASA is recommended; it stays wet and meets detergent. PLA may soften over time.

Tips

  • With a slope of 0 water will not drain; the panel warns, use at least 1.5°.
  • Start the grid clearance at 0.4 mm and raise it to 0.6 mm if it is tight.

How the water flows

The floor is the sum of two slopes: it rises from the spout tip towards the back at the slope you set and, outside the spout width, rises sideways at the same slope. Every point has a downhill path to the spout. Ribs run front to back so they never block the flow and stop one channel gap, at least 3 mm, short of the walls.

  • The floor is 1.6 mm thick at the spout tip
  • Rib tops sit the chosen height above the highest floor point
  • The wall grows so the sponge is held at least 6 mm above the ribs

Drip tray

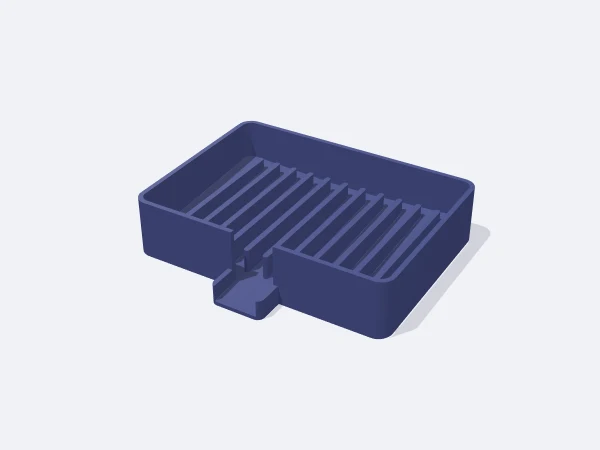
In tray mode the reservoir floor slopes to the front centre, so water collects there and is easy to pour out. The grid has honeycomb, square or slot openings. When the inner span passes 70 mm, Ø8 mm posts are added to the reservoir and the grid stays solid above them.

Frequently asked questions

Which way should the spout face?

Place the holder on the counter or sink edge with the spout pointing into the sink. The spout reaches 12 mm out from the body.

Ribs or studs?

Ribs guide water straight forward and dry fastest. Hex and square studs touch the sponge less and also suit a bar of soap.

How does the grid fit the reservoir?

The grid is smaller than the reservoir opening by the clearance on every side and overlaps the inner ledge by at least 1.5 mm. The test places the grid and checks that it does not cut into the reservoir.

Similar templates

Set the sizes to fit your part

Open the template in the editor, enter your values and download a print-ready STL. No account needed.

Open in editor